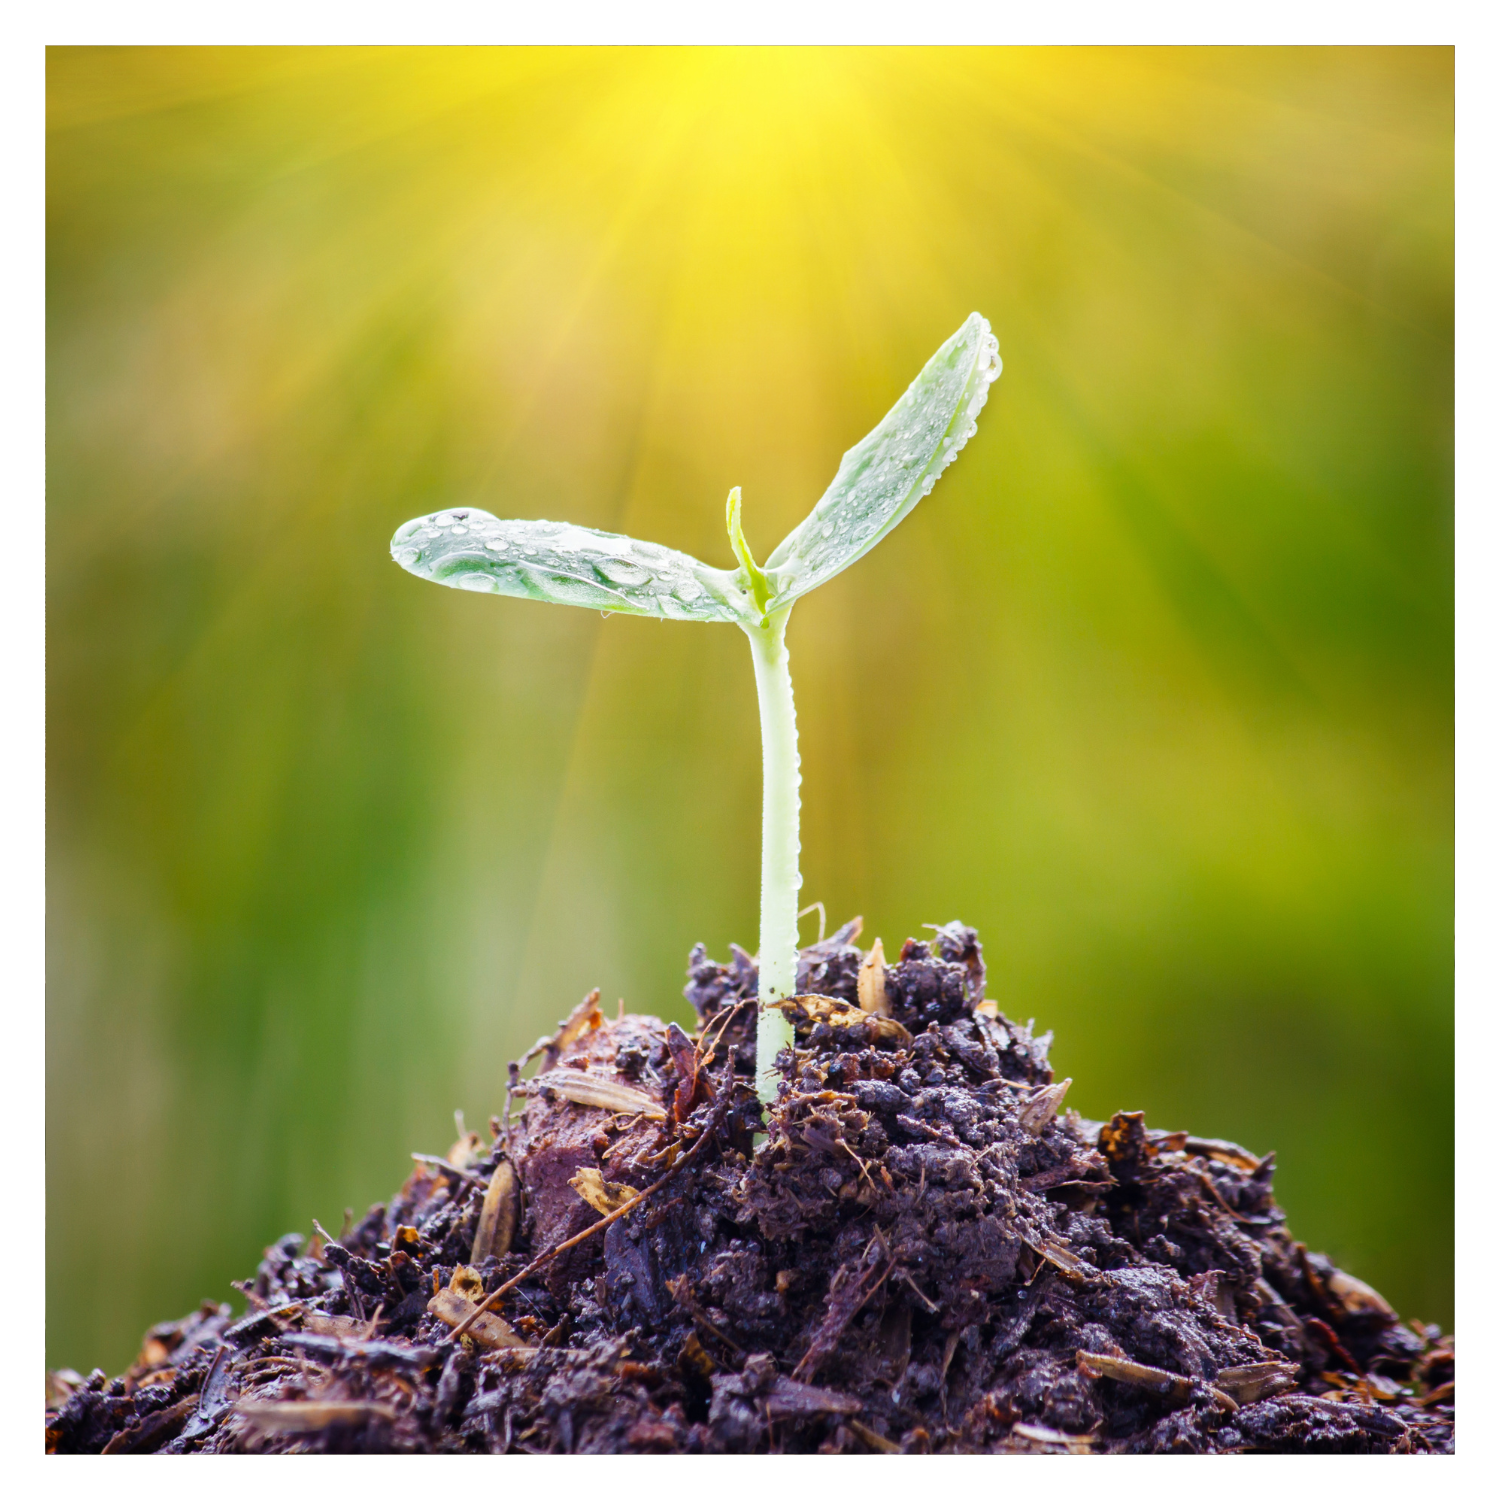
As we endure the cold of winter, spring might feel like a distant dream, but now is the perfect time to start thinking about your garden. Starting seeds indoors is an excellent way to get a jump on the season and ensure you have strong, healthy plants ready to go once the frost has passed. Whether you're a seasoned gardener or just starting out, understanding the basics of indoor seed starting can make all the difference in your garden's success.
When to Start Seeds Indoors
In northern gardening zones, the growing season will be shorter, which is why starting seeds indoors is such an important step. The general rule of thumb is to start seeds about 6–8 weeks before your last expected frost date. For many northern gardeners, this means starting seeds in early spring – typically early April.
To determine the best timing for your area, check the Canadian Plant Hardiness Zone Map for your specific zone and find out the average date of the last frost. From there, you can plan to start your seeds indoors around 6–8 weeks before that date.
For example start each of the following in advance of the last frost date:
- Tomatoes: 6-8 weeks
- Peppers: 8–10 weeks
- Cucumbers: 3–4 weeks
- Brassicas (cabbage, broccoli, etc.): 6–8 weeks
- Zinnias: 6–8 weeks
- Marigolds: 6–8 weeks
- Coneflower (Echinacea): 8–10 weeks
- Shasta Daisy: 6–8 weeks
- Lavender: 8–10 weeks
- Columbine: 8–10 weeks
- Bee Balm (Monarda): 6–8 weeks
Lighting: The Key to Healthy Seedlings
Proper lighting is one of the most important factors when starting seeds indoors. While natural light is good, it’s often not enough for seeds to thrive, especially in northern climates where days can be short and cloudy. This is where grow lights come in.
- Grow Lights: The best lights for starting seeds indoors are full-spectrum fluorescent or LED grow lights. These lights provide the right spectrum of light that seedlings need for photosynthesis and healthy growth.
- Positioning the Lights: Place the lights about 4-8 inches above the tops of the seedlings. As the seedlings grow, adjust the lights to maintain that distance. It's important to keep the lights on for about 14–16 hours per day to mimic the long days of spring and summer.
- Note: Some high-powered LEDs may need to be positioned slightly higher (closer to 12 inches), while lower-powered lights can stay closer. Follow the manufacturer's recommendations.
Temperature: Finding the Right Balance
Most seeds need warmth to germinate, and in northern climates, achieving the ideal temperature for seed starting can sometimes be a challenge. The ideal temperature for seed starting is usually between 65°F and 75°F (18°C to 24°C) during the day, with slightly cooler temperatures at night.
- Indoor Temperature: Keep your seed trays in a warm location, such as near a radiator, on top of the fridge, or in a heated grow tent, to maintain the right temperature. Avoid placing them in drafty or cold areas, as this can cause slow or uneven germination.
- Heat Mats: For more temperature-sensitive plants, heat mats are a great way to maintain consistent warmth. These mats gently heat the soil from below, promoting faster germination without overheating the seedlings. They are particularly beneficial for seeds that require a warmer soil temperature for germination, such as peppers and tomatoes.
- Heat Lamps: While heat lamps can also provide warmth, they tend to heat the air around the seedlings rather than the soil. This can be less efficient for encouraging strong root development. Heat lamps may also dry out the air and the seedlings if not monitored closely. If using a heat lamp, make sure it is placed high enough to avoid overheating the plants, and monitor humidity levels closely to prevent them from drying out.
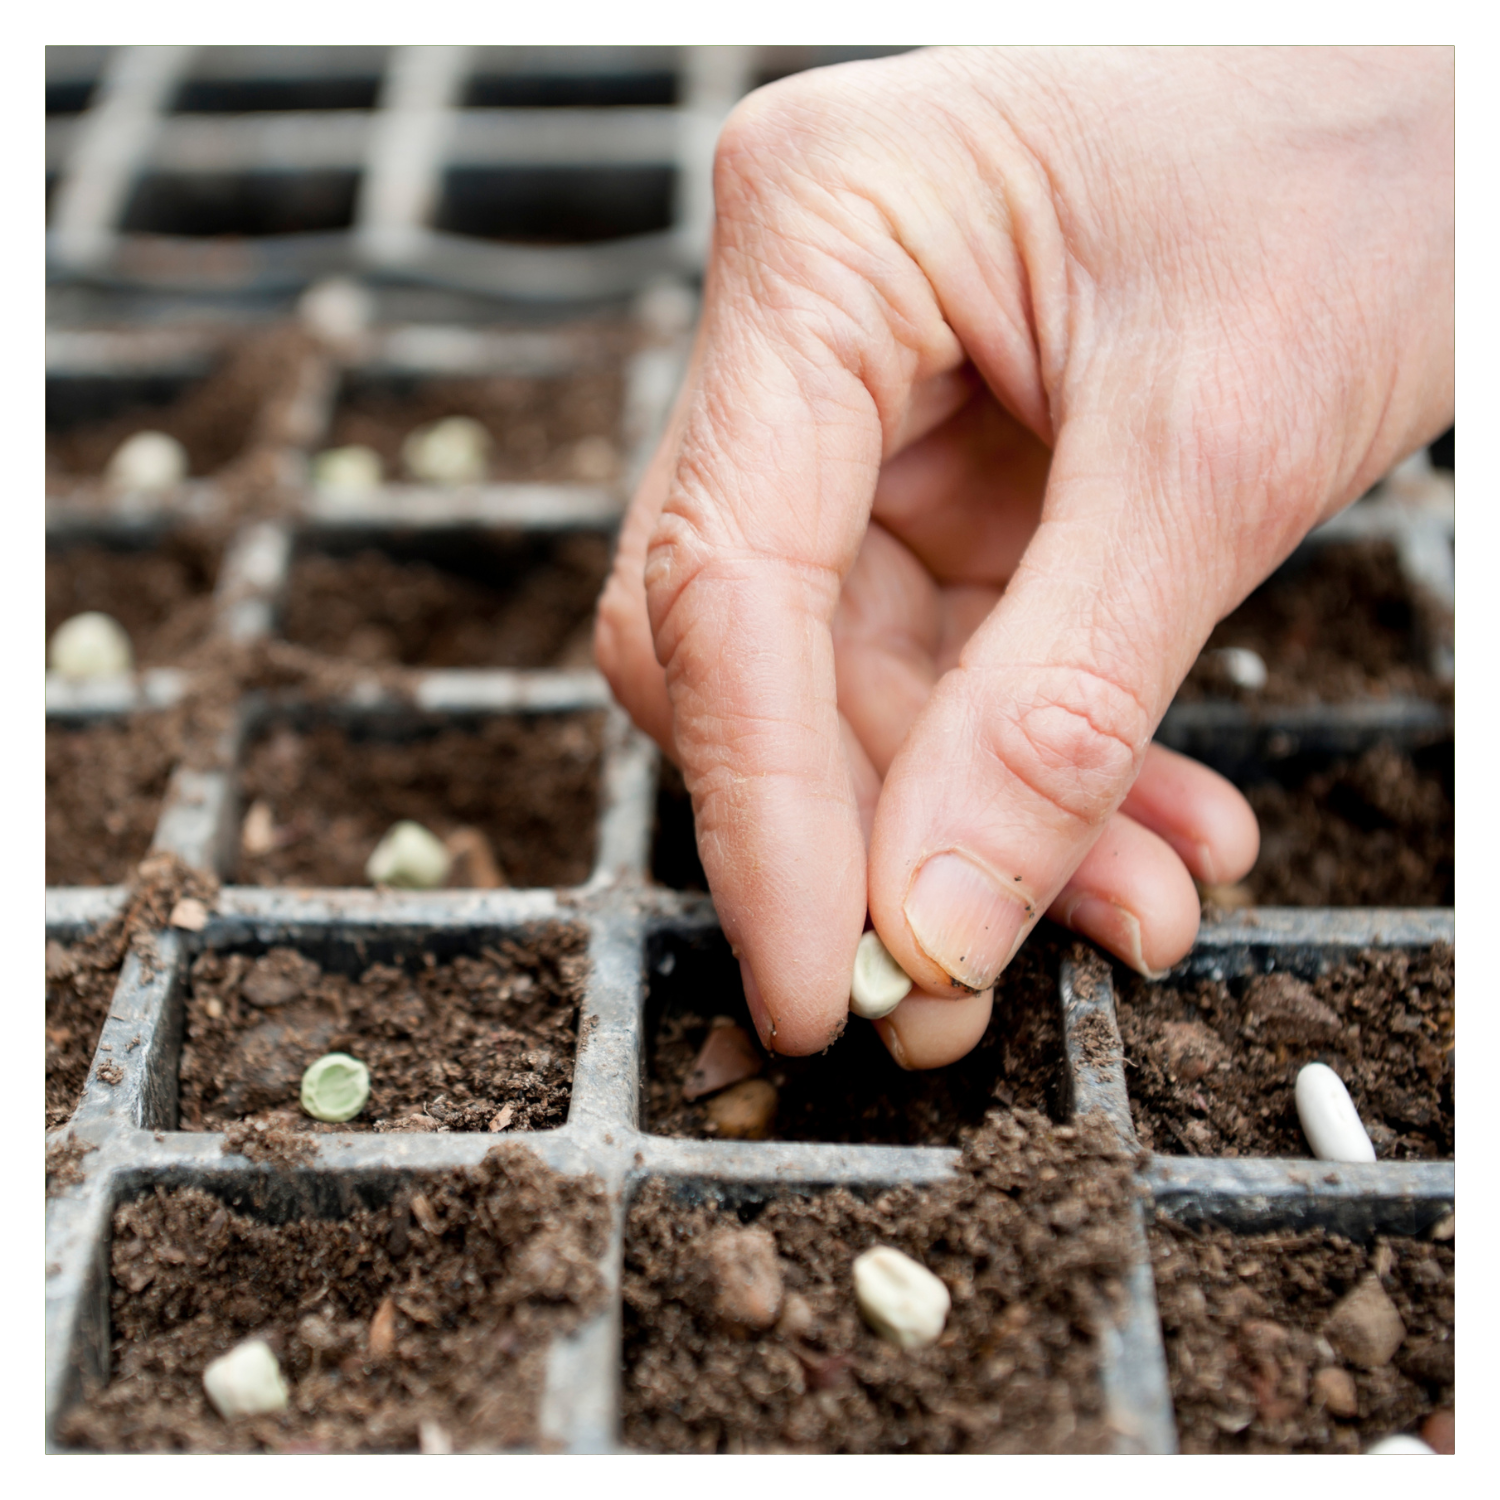
Soil: The Foundation of Strong Seedlings
Using the right soil is crucial for growing strong, healthy seedlings. Seed-starting mix is specifically designed to provide the proper texture and nutrients for young plants. It’s light and fluffy, allowing roots to establish easily while also draining well to prevent waterlogging.
- Choose the Right Mix: Avoid using regular garden soil for seed starting, as it tends to be too heavy and can harbor pathogens. Instead, look for a seed-starting mix or potting mix that’s formulated for young plants.
- Moisture Control: Keep the soil moist but not soggy. Water the soil gently using a spray bottle or watering can with a fine nozzle to avoid displacing the seeds.
- Seed Trays and Containers: Use trays with drainage holes, or consider individual pots, peat pots, or even egg cartons for starting your seeds. The key is to ensure good drainage while giving each seed enough space to grow.
Transplanting: Hardening Off Before Moving Outdoors
Before transplanting your seedlings outdoors, it's important to “harden them off” to prepare them for the elements. This process involves gradually acclimating your seedlings to outdoor conditions to avoid shocking them when they’re finally planted in the garden.
Start by placing your seedlings outside in a shaded, sheltered spot for a few hours each day, gradually increasing the exposure to direct sunlight and outdoor temperatures over the course of a week to 10 days. Once they’re used to outdoor conditions, they’ll be ready to be planted in the garden.
By starting your seedlings indoors at the right time, you can give your garden a vibrant, early start, with colorful blooms, robust vegetables, and strong, hardy perennials that will thrive for years to come. Whether you're planning a flower-filled garden, lush vegetable garden or adding perennial beauty to your landscape, getting a jump on the season indoors ensures you'll enjoy a full and thriving garden once the warmer weather arrives. Stay warm gardeners!